People, groups and invitations
Who the instance knows, what a person may do, how groups get roles and how you assign someone before their first sign-in.
You find people and groups in the admin area under Access. You do not create a person: they appear by themselves after their first sign-in, without any right.
Reading the list of people
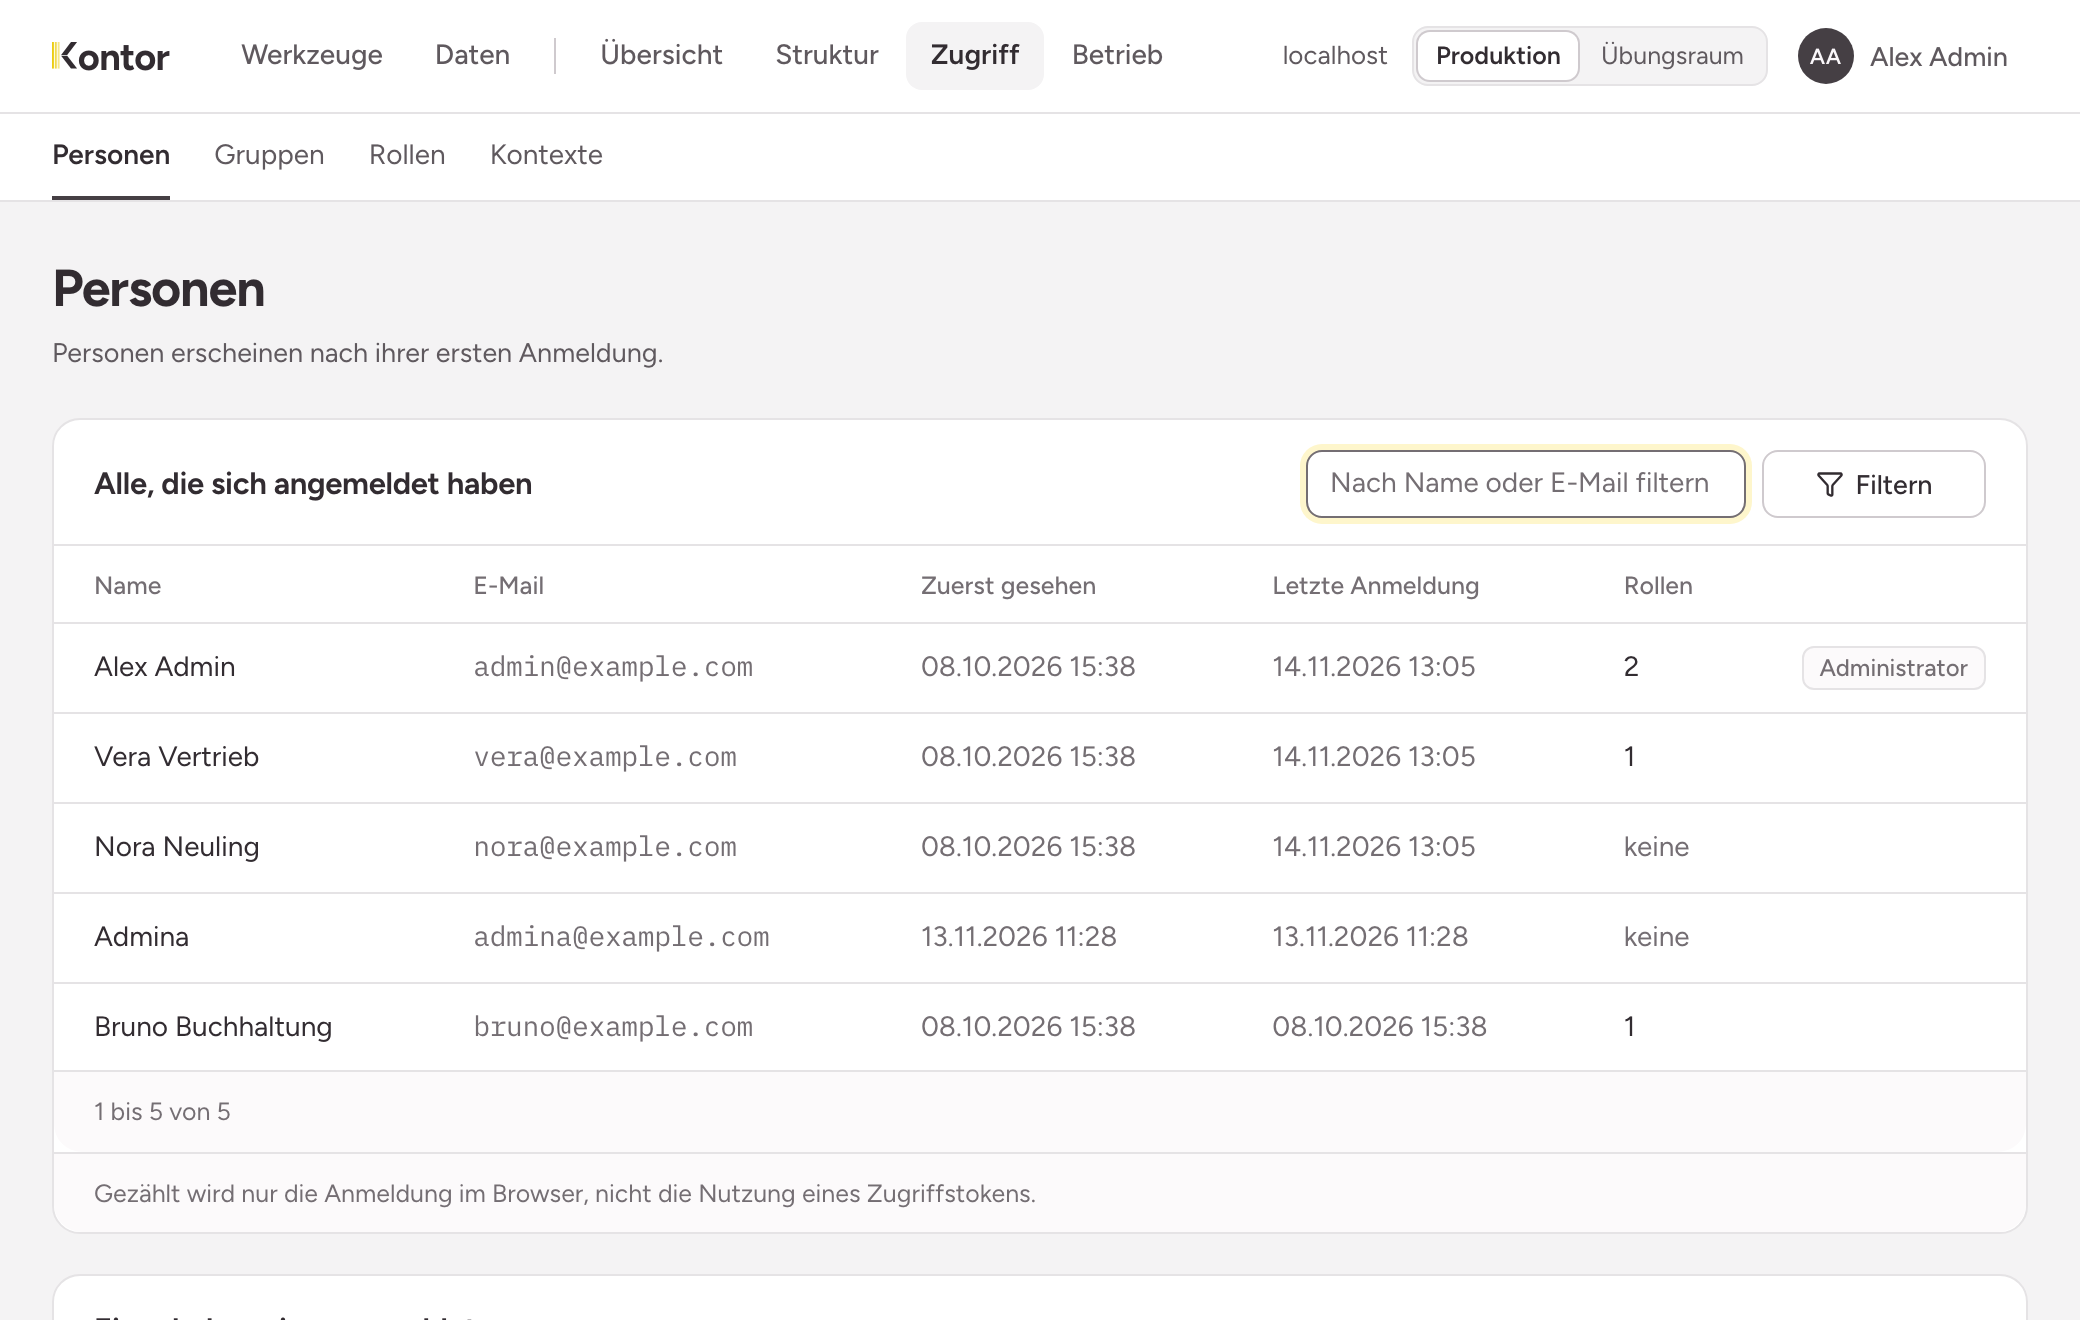
Everyone who has signed in shows name, email, First seen, Last sign-in and the number of roles for each person. Whoever holds the role admin carries the mark administrator. With Filter you search by name or email.
Last sign-in only counts a sign-in in the browser. Someone who only works with an access token appears there as not seen for a long time.
Below it is Invited, never signed in: addresses you have pre-assigned that have not signed in yet.
The page of a person
Choose the name in the list.
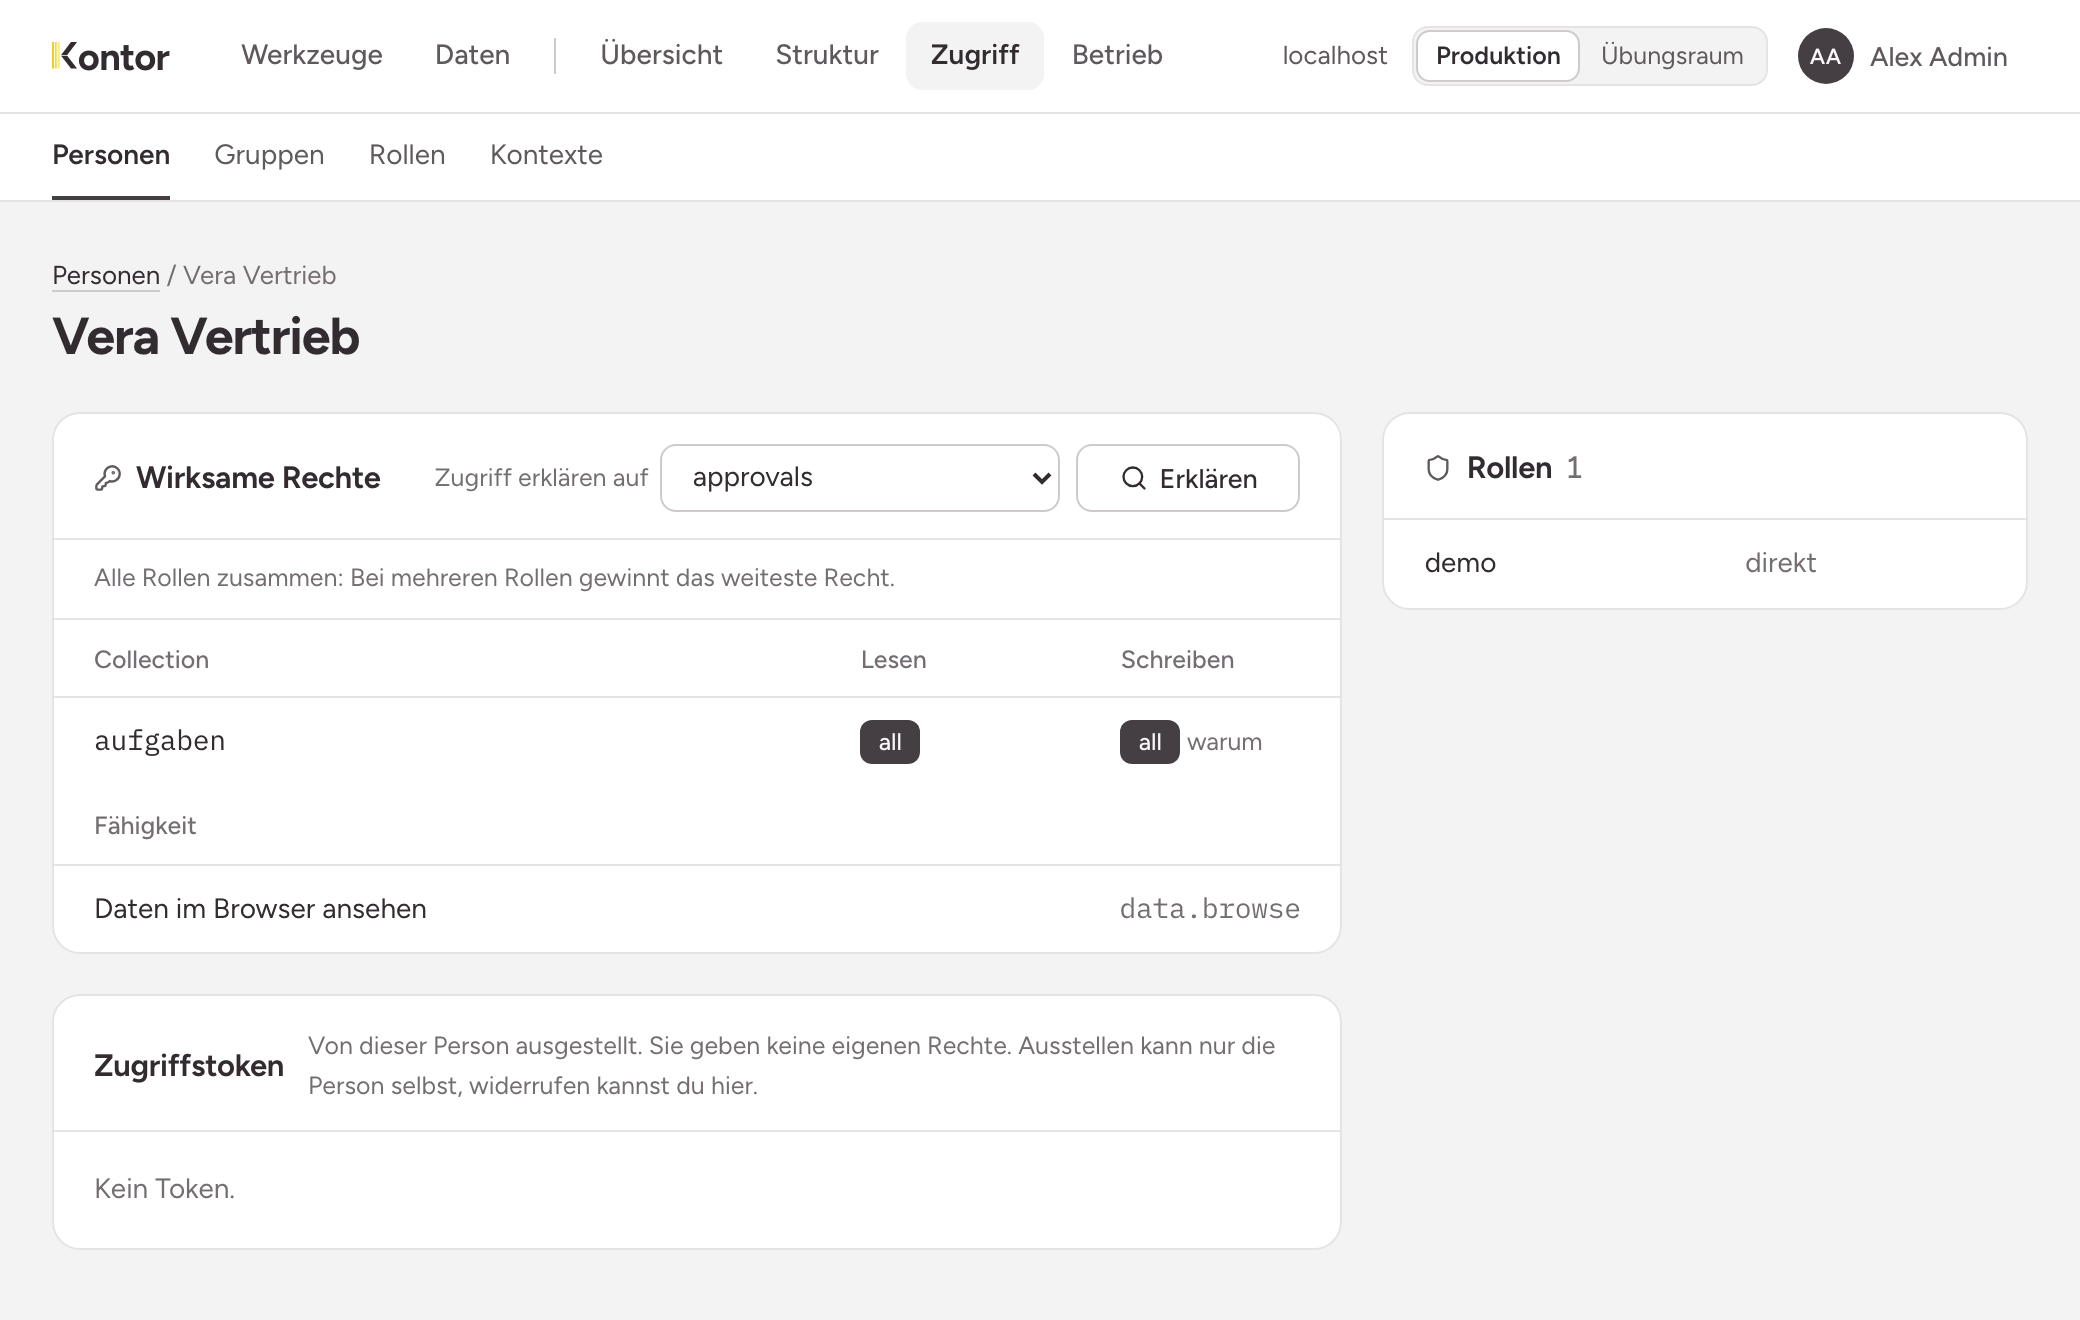
- Effective rights takes all roles of the person together: the scope for reading and writing per collection, plus their tools and capabilities. With several roles the widest right wins.
- why next to a collection explains the access: the verdict in one sentence and, under Where it comes from, every role that contributes, held directly or through a group. With Explain access to you can also ask about a collection the person has no right on.
- Access tokens shows the tokens the person has issued, with state and last use.
- Roles shows every role with its path: directly or through the group.
You can change only one thing on this page: revoke a token. You give and take roles on the page of the role or of the group.
Revoking a token
Choose Revoke at the token and confirm. The token stops working immediately, and an agent can no longer sign in with it. Only the person themselves can issue a token.
Creating a group and giving it roles
A group holds people, for example a team. It carries no rights: it gets roles, and every member has every role of the group.
- Choose Access, Groups.
- Enter a name under New group and choose Create.
- Open the group. Under Members, search by name or email and choose Add.
- Under Roles, choose a role and then Give.
Remove takes a member or a role away again. The person then loses every role they held only through this group. Both take effect on the next request.
Limits:
- The role
admincannot be given to a group. Add administrators to the role directly. - Delete only works for a group without members and without roles. Remove both first.
- Context values shows which values the group is mapped to. You map them on the page of the context.
Pre-assigning a person
Only people who have already signed in can be found. For everyone else there is the pre-assignment by email address, into a role or into a group:
- Open the role (tab People) or the group.
- Enter the complete email address in the search field and choose Search.
- Choose Pre-assign this address.
The address then appears in the list of members with the note pending until and a date, and in the list of people under Invited, never signed in. When someone signs in with this address for the first time, it becomes a membership.
- Expiry: a pre-assignment expires after 90 days. It then carries the mark expired and has no effect any more.
- Withdrawing: choose Remove at the address, on the page of the role or group. The instance does not ask for confirmation, because you take back an intention, not a right.
- Not into the role
admin: the address of a sign-in is not always verified, and this role opens the instance. Add the person once they have signed in.